How Cases Are Made
Introduction:
The flag display cases I construct reflect superior craftsmanship and result in a high quality product. A lot of effort is taken to make sure each case is right. I am proud to personally own one of these cases and hope they find just the right spot in your home. All cases are sanded smooth and a catalyzed acrylic lacquer preserves the case with a clean, satin finish. No shortcuts in materials or workmanship are ever taken with the cases I produce.
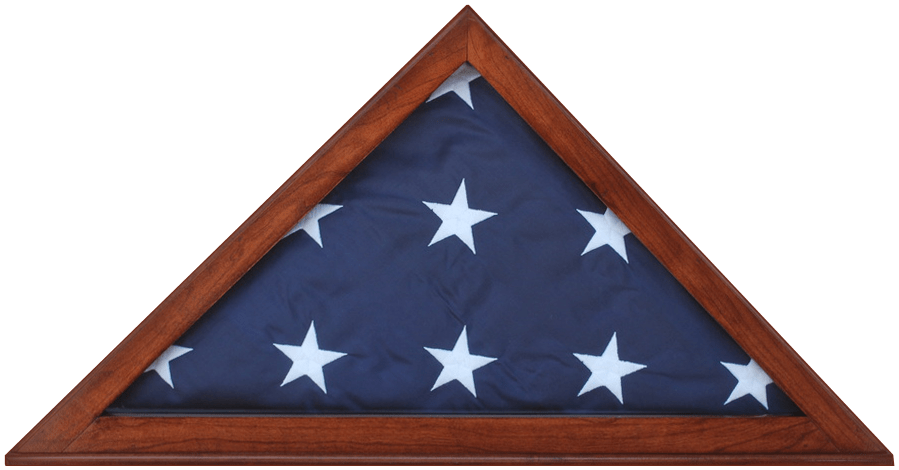
These cases were designed to proudly complement the flag to be housed. The case can be hung on a wall or placed on your favorite bookshelf or mantle. The display case trim conceals the flag folds and corners to provide a clean, orderly display. Glass rather than plastic fronts ensure clear, scratch-free viewing. Flags are inserted through the case’s back panel, using turn button closures.
Since the flag display cases are custom designed and I have many to make, a 6 week turnaround should be expected. This would include adding the engraved military emblem on the glass or laser etching on the wood frame. I place that order when I receive yours so the turnaround time is minimized.
If you have an idea that is not listed, then contact me and let’s discuss ways to construct the case you desire.
How the cases are made:
Wood preparation: The first stop is at the local lumber supplier to procure the Cherry, Oak, and Walnut rough lumber. The wood is carefully eyeballed to select the straightest, kiln dried wood available. After a few war stories, trading helpful hints and discussing upcoming projects, I travel home, sort the lumber, and then place it on the appropriate rack.
The rough lumber is then planed to the correct thickness and run through the jointer to attain a straight edge. Generally, when an order is received, I select wood long enough to complete the frame and base. The next step is to cross-cut the wood to the desired overall length and then ripping the wood (using the table saw) to the desired width. The frame is naturally grain matched using this process.
The resulting frame edges are then rabbited and the trim routed. Next, the wood is cut to the desired individual lengths and mitered on the ends to form the frame pieces. The frame pieces are then glued, clamped and assembled with great care for a good, tight, secure fit.
Finishing: Of course, I go on another outing to procure the stain, acrylic lacquer and sanding sealer. These are commercial products which are the ingredients to an amazing finish. We all know the finish makes or breaks the final product. There are no shortcuts taken in this process to make sure you will be satisfied.
The display case is carefully sanded and the dust removed. The appropriate stain is then applied to bring out the natural beauty of the wood grain. These stains are transparent so the grain is highlighted, not concealed The next step is to spray on sealing coats, making sure the sealer compound is sanded between coats. This step seals the stain in the wood, protects the grain from damage and prepares the case for the acrylic lacquer. After this step is completed, the lacquer is applied in several layers, sanding lightly between coats. The lacquering process enhances the wood grain and stain color. It brings out depth and clarity that is quite simply “amazing”. This finish is so rich in appearance, customers are excited to place the case in a highly visible location.
Final Steps: Once the finishing process is complete, it is time to complete the case. The glass is carefully installed and sealed to the case. Turn button closures are added to the frame to secure the frame back piece which houses the flag. Then, felt material is cut and applied to the bottom of each case for surface protection. For memorabilia cases, crushed velvet is applied to foam board and sized to the back dimensions of the case. The case is complete! The next step is to carefully pack the case and send to you to enjoy.